


Every successful DIY project—whether you are framing a stud wall, laying a hardwood floor, or building custom cabinetry—begins with precise measurements. A fraction of a millimeter can be the difference between a seamless joint and a costly structural failure.
In this guide, you will learn how to select and properly use the most critical measuring tools in your workshop. We will cover technical layout strategies, tool calibration, and material tolerances to ensure your next build meets professional specifications.
1. The Foundation: Mastering the Tape Measure
The standard tape measure is the workhorse of any site, but using it correctly requires understanding its mechanical design.
The Secret of the Sliding Hook
Many DIYers mistakenly think a loose metal tip is a defect. In reality, that hook is designed to slide precisely the width of its own thickness. This ensures accuracy for both inside measurements (pushing the hook against a wall) and outside measurements (hooking it over the edge of a board).
- Read the increments: Professional accuracy requires reading down to the 1/16th or 1/32nd of an inch.
- Maintain tension: A sagging tape measure results in an “over-measurement.” Always pull the blade taut.
- Recommended Tool: For a reliable grip and long standout, the Stanley FatMax Tape Measure or Stanley FatMax 8m is the industry standard for durability and reach.
2. Squaring and Angles: Speed Squares vs. Combination Squares
Linear measurements are only half the battle. Ensuring your project is “square” (90 degrees) is what separates a professional finish from a DIY mess.
The Speed Square (Rafter Square)
Cast from solid aluminum, a speed square is essential for framing and cross-cutting. It doubles as a protractor and a saw guide.
- The Pro Tip: Use your square as a fence for your circular saw. Hold the square firmly against the board’s edge and run the saw’s base plate along the square’s edge for a perfectly straight 90-degree cut.
- Must-Have Tool: The Swanson Tool S0101 Speed Square (USA) or the Swanson Metric Speed Square is indestructible and essential for every toolbox.
The Combination Square
For fine woodworking and cabinetry, the combination square offers more versatility. It features a sliding head that allows you to check both 90-degree and 45-degree angles while also acting as a depth gauge.
- Check for accuracy: Extend the blade and draw a line perpendicular to a straight edge. Flip the square over; if the blade doesn’t align perfectly with your line, the square is out of calibration.
3. High-Precision & Specialized Digital Tools
When you move into specialized work like floor restoration, cabinetry, or mapping out entire rooms, manual tools often need digital support.
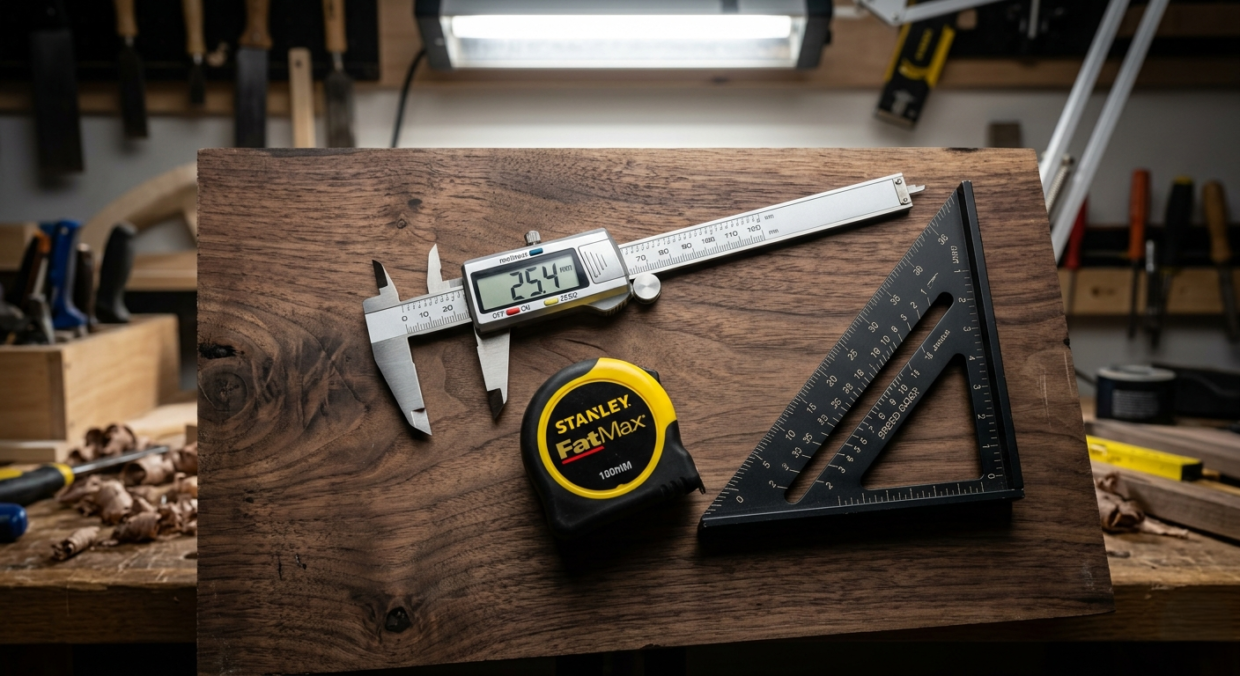
Digital Calipers
When measuring the thickness of sheet goods or the diameter of a drill bit, digital calipers provide sub-millimeter precision. Always “zero” the tool by closing the jaws completely before taking a measurement.
- Recommended Tool: The Neiko 01407A Digital Caliper or the Adoric Digital Caliper provides easy-to-read LCD results for high-precision tasks.
Laser Distance Measures
For estimating flooring or painting large rooms, a laser measure is faster and more accurate than a flexible tape. Simply place the base against one wall and let the laser do the work.
- Recommended Tool: The Bosch BLAZE GLM50C or Bosch Professional GLM 50-27 offers Bluetooth connectivity to sync measurements directly to your phone.
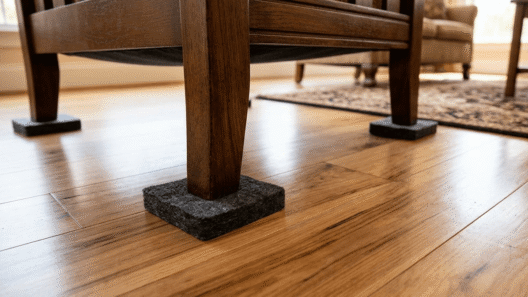
Wood Moisture Meters
If you are installing timber floors or building furniture, you must check the moisture content of the wood. Installing “wet” wood leads to warping and gapping as it dries.
- Recommended Tool: For non-destructive testing, the Klein Tools ET140 Pinless Meter or Trotec BM31 allows you to scan wood without leaving pinholes.
Measuring Tools Comparison Table
| Tool | Primary Use | Precision Level | Best For |
| Tape Measure | Rough layout | Moderate (±1/16″) | Framing & General Construction |
| Speed Square | 90° Cuts & Framing | High | Circular saw guide & Rafter work |
| Digital Caliper | Micro-measurements | Extreme (±0.001″) | Joinery, fasteners, & thickness |
| Laser Measure | Room dimensions | High (±1/16″) | Flooring & Interior Design audits |
| Moisture Meter | Material stability | Technical | Floor restoration & Woodworking |
Conclusion
Success in DIY is built on a foundation of accurate data. By understanding the mechanical nuances of your tape measure and utilizing specialized tools like speed squares and digital calipers, you eliminate the “guesswork” that leads to wasted materials. Always measure twice, cut once, and keep your tools calibrated for the best results.
Frequently Asked Questions
1. How do I know if my tape measure is accurate?
Check the “hook” at the end. It should move slightly. If it is jammed or bent, your measurements will be off by the thickness of the metal. Compare it against a high-quality steel ruler to verify the first 12 inches.
2. Can I use a laser measure for small woodworking projects?
Laser measures are excellent for room dimensions (walls, ceilings), but they are generally less effective for small pieces of wood (under 6 inches) where a physical ruler or caliper provides better tactile control.
3. What is the “Burn an Inch” method?
If you suspect your tape measure hook is damaged, align the “1-inch” mark on the edge of your board instead of the hook. Take your measurement and then subtract exactly one inch from the result.
4. Why does wood moisture matter in DIY?
Wood is hygroscopic; it absorbs and releases moisture based on the environment. If you install wood with high moisture content, it will shrink as it dries, causing cracks, gaps, or structural instability in your project.